How to Assemble Seal and Send Invitations
What's Special About Seal and Sends?
Seal and send wedding invitations are self-mailing invitations, meaning there is no need for invitation envelopes. All you have to do is fold, seal and send – it's just that easy! However, knowing how to fold a seal and send can be tricky. Here are step-by-step instructions for properly folding your seal and send wedding invitations.
How Do I Get Started?
Your seal and send invitations will arrive completely flat, ready for you to stamp and address each one. We recommend leaving them flat until you're ready to address and seal the invitations. For now, grab one invitation to practice folding it.
Step 1: Lay the Invitation Flat
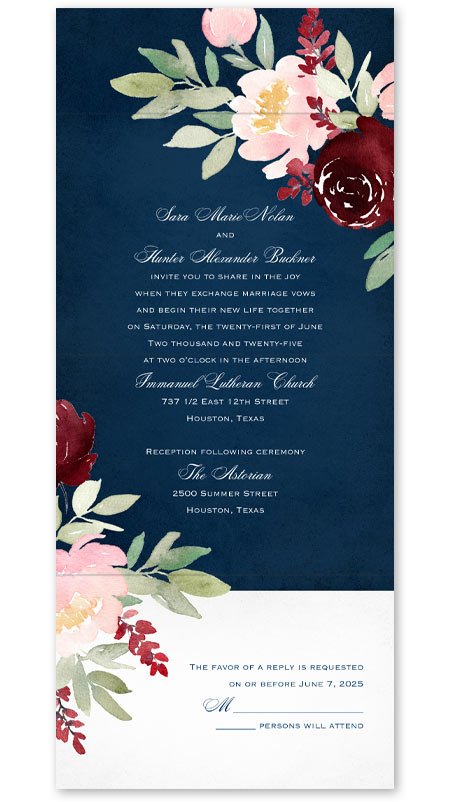
Lay the invitation out in front of you with the wording side up and the address side down. (Quick Note: don't forget to add a postcard-rate stamp to each response postcard card before you start folding the invitation.)
Step 2: Fold From Bottom to Top
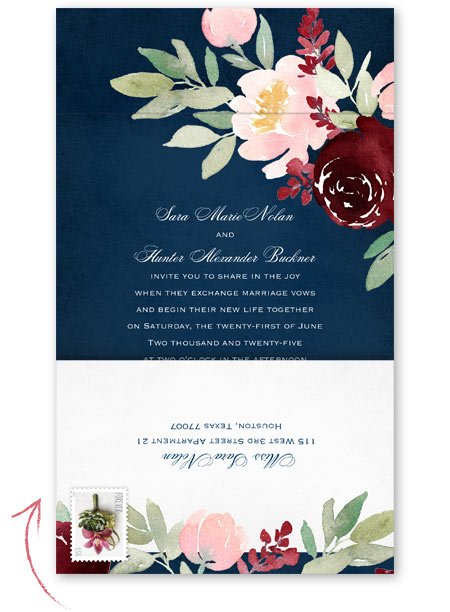
Begin with the response postcard at the bottom and fold it upward. The response postcard's return address will now be upside down and facing you. (The response card is perforated so guests can tear it off and send it back, which means you won't want to fold and unfold this piece more than once or twice.)
Step 3: Continue Folding Upward
Fold the response section upward so the response card's return address folds inward toward your wording. Now the section of the invitation facing you will have no wording.
Step 4: Fold Remaining Flap Downward
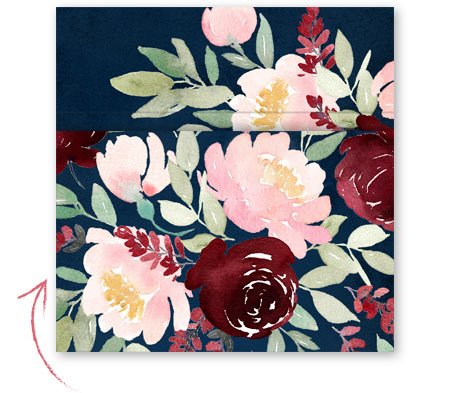
Fold the remaining flap at the top downward so the invitation's return address is now facing you. Secure the flap closed with a clear seal. Place the seal's perforated line along the bottom edge of the top flap for easy opening.
Step 5: Place a Seal around Each Side
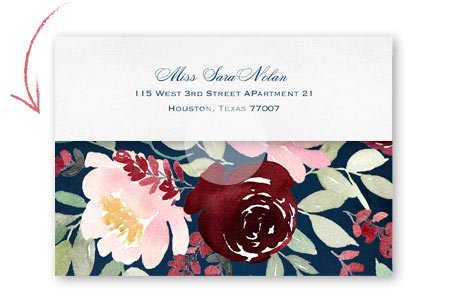
Place a clear seal around the left side of the invitation so the perforated line runs along the fold, then do the same on the right side of the invitation. You will use three clear seals (seals are included with your order) per invitation. (Why three seals? Three seals are needed to ensure the invitation can be easily fed through postal service equipment. You may request that your wedding invitations be hand canceled if you would like to avoid any machine processing. Also, if you included any additional enclosures in your invitation (such as map cards or accommodation cards), a seal on each side will secure those enclosures inside the invitation.)
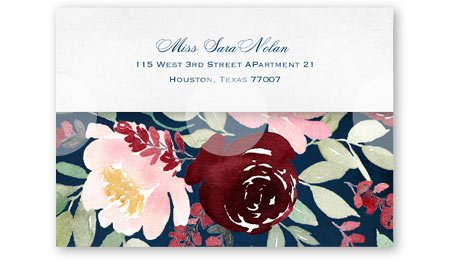
Step 6: Flip the Invitation Over to Address
Flip the invitation over horizontally (left to right) to reveal the blank portion of the invitation where you will write the guest's address. (Why horizontally? If you flip the invitation over vertically (up and down), the guest's address will be written upside down in comparison to the invitation's return address.)
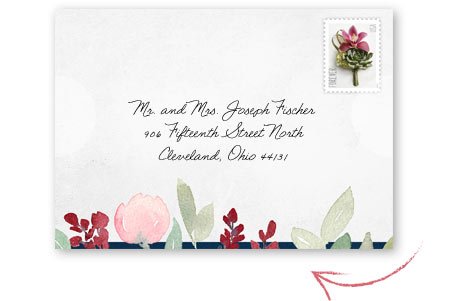
Need Help With Addressing?
Check out our handy guide to answer all your addressing questions. learn more
Still Have Questions?
Please call 1-800-821-7011 and someone from our customer service team will be happy to help you!


